
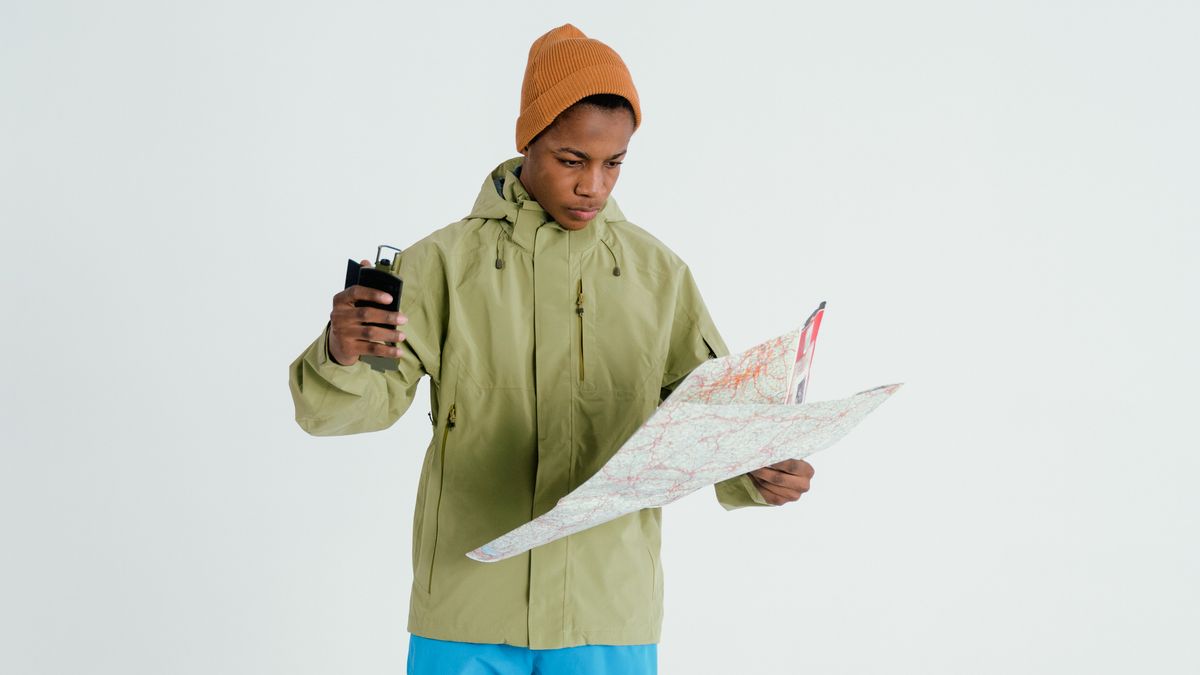
You are on a remote ridge, cloud down, and your walking partner twists an ankle. You need help, and fast. The mountain rescue team will ask for your location. A vague description like “near the big cairn” is not good enough. A grid reference, however, gives them a precise point on the map. It is the single most valuable piece of information you can give in an emergency. Even on a clear day, knowing how to read and plot grid references makes you a more confident navigator, allowing you to plan routes, identify features and share your position with others.
Every UK map is covered by a grid of vertical and horizontal lines. The vertical lines are called eastings because their numbers increase as you move east (to the right). The horizontal lines are called northings because their numbers increase as you move north (up). When you give a grid reference, you always quote the easting first, then the northing. A simple way to remember this is “along the corridor, then up the stairs”.
A four-figure grid reference identifies a one-kilometre square on the map. It is written as two digits for the easting and two for the northing, for example 2345. This means the square that lies between easting 23 and 24, and between northing 45 and 46. To find it, locate the vertical line numbered 23 and the horizontal line numbered 45. The square is immediately to the right and above where they meet. Four-figure references are useful for general navigation, such as noting a summit or a car park, but they only narrow your location to a square that is 1,000 metres wide. In an emergency, that is too imprecise.
A six-figure grid reference breaks each one-kilometre square into ten equal parts in both directions, giving a 100-metre square. This is the standard for mountain rescue. To create one, you first find the four-figure square, then estimate how far across and up your point lies. Each tenth is added as a third digit.
You can estimate tenths by eye, but a romer on your compass makes it far easier. Simply align the romer with the grid lines and read off the tenths. With practice, you can judge tenths to within a millimetre or two on the map, which is more than accurate enough for rescue teams.
Plotting a grid reference on your map is the reverse process. First, find the two-digit easting and northing. Then count in the third digit for each. For example, to plot 234567, go to easting 23, then move right by 4 tenths of a square. Next, go to northing 56, then move up by 7 tenths. Mark that point. You have now located a 100-metre square.
In an emergency, give your six-figure reference clearly and slowly. Add the two grid letters if your map uses them (for instance, “NN 234 567”). Then describe what you can see: “We are on the north side of the ridge, just below a rocky outcrop, with a small lochan to our east.” Mention the number of people in your group, any injuries, and the colour of your clothing or tent. If you have a phone signal, call 999 and ask for the police, then mountain rescue. If not, use a whistle or torch to signal. Stay put if it is safe to do so; a moving target is harder to find.
Like any skill, grid references improve with repetition. On your next walk, pick a feature every fifteen minutes and write down its six-figure reference. Then check it against your GPS or a known point. Use a romer until you can estimate tenths confidently without one. Try plotting references given by a friend, or take turns leading a short leg using only grid references. The more you practise, the more natural it becomes. Before long, you will read the landscape and the map as one, and you will have a vital safety tool at your fingertips.

Hi, my name is Anthony kuber. I am artist and fashion designer.
I love to travel and writing blogging.
Your email address will not be published. Required fields are marked *
Software Developer & Writer
Hey, I'm Diva, a developer and writer blending code and creativity. I'm driven by a deep curiosity and a relentless pursuit of excellence. Join me as I craft digital solutions and captivating stories.


